이전 포스트 ( https://sangjunui.tistory.com/33 ) 에 이어 진행
1. 계정 추가
mysql > create user 'id'@'%' identified by 'pwd';
// id -> 생성할 ID
// % -> 외부 접근 권한 설정 ( 내부에서만 쓰려면 'localhost' )
// pwd -> id의 비밀번호

// 예시 ( external_user / % / 1234qwer!
mysql > create user external_user@% ideentified by 1234qwer!;
2. 확인 및 mysql 나가기
mysql> select host, user from user;
+-----------+------------------+
| host      | user             |
+-----------+------------------+
| %         | external_user    | // 추가된 계정 확인
| localhost | mysql.infoschema |
| localhost | mysql.session    |
| localhost | mysql.sys        |
| localhost | root             |
+-----------+------------------+
5 rows in set (0.00 sec)

mysql> exit;
3. mysql 재시작 및 방화벽 해제
[root@localhost ~]# systemctl restart mysqld
[root@localhost ~]# firewall-cmd --zone=public --add-port=3306/tcp --permanent
success
[root@localhost ~]# firewall-cmd --reload
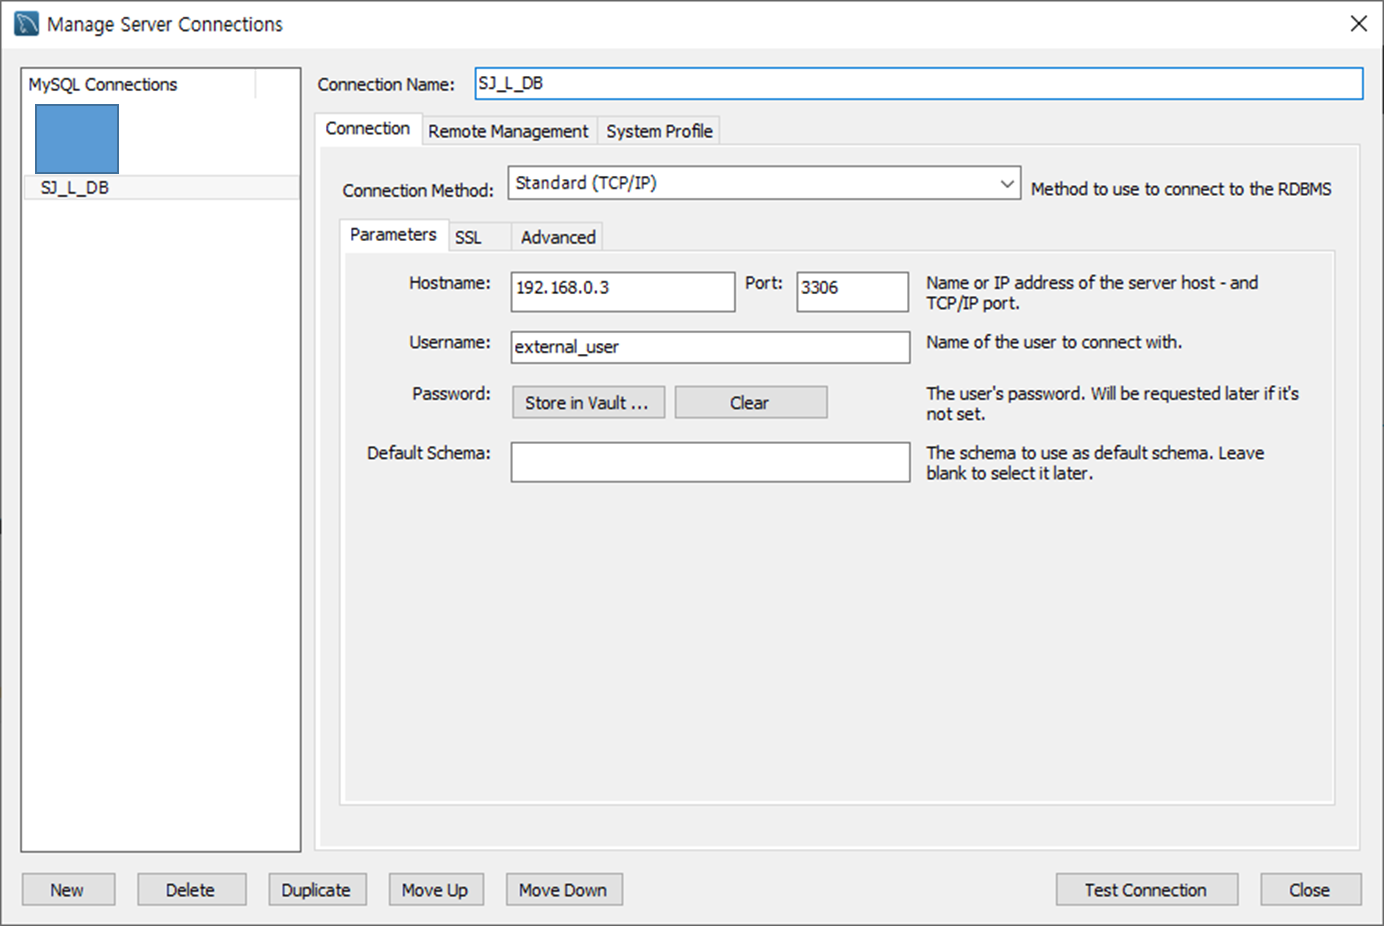
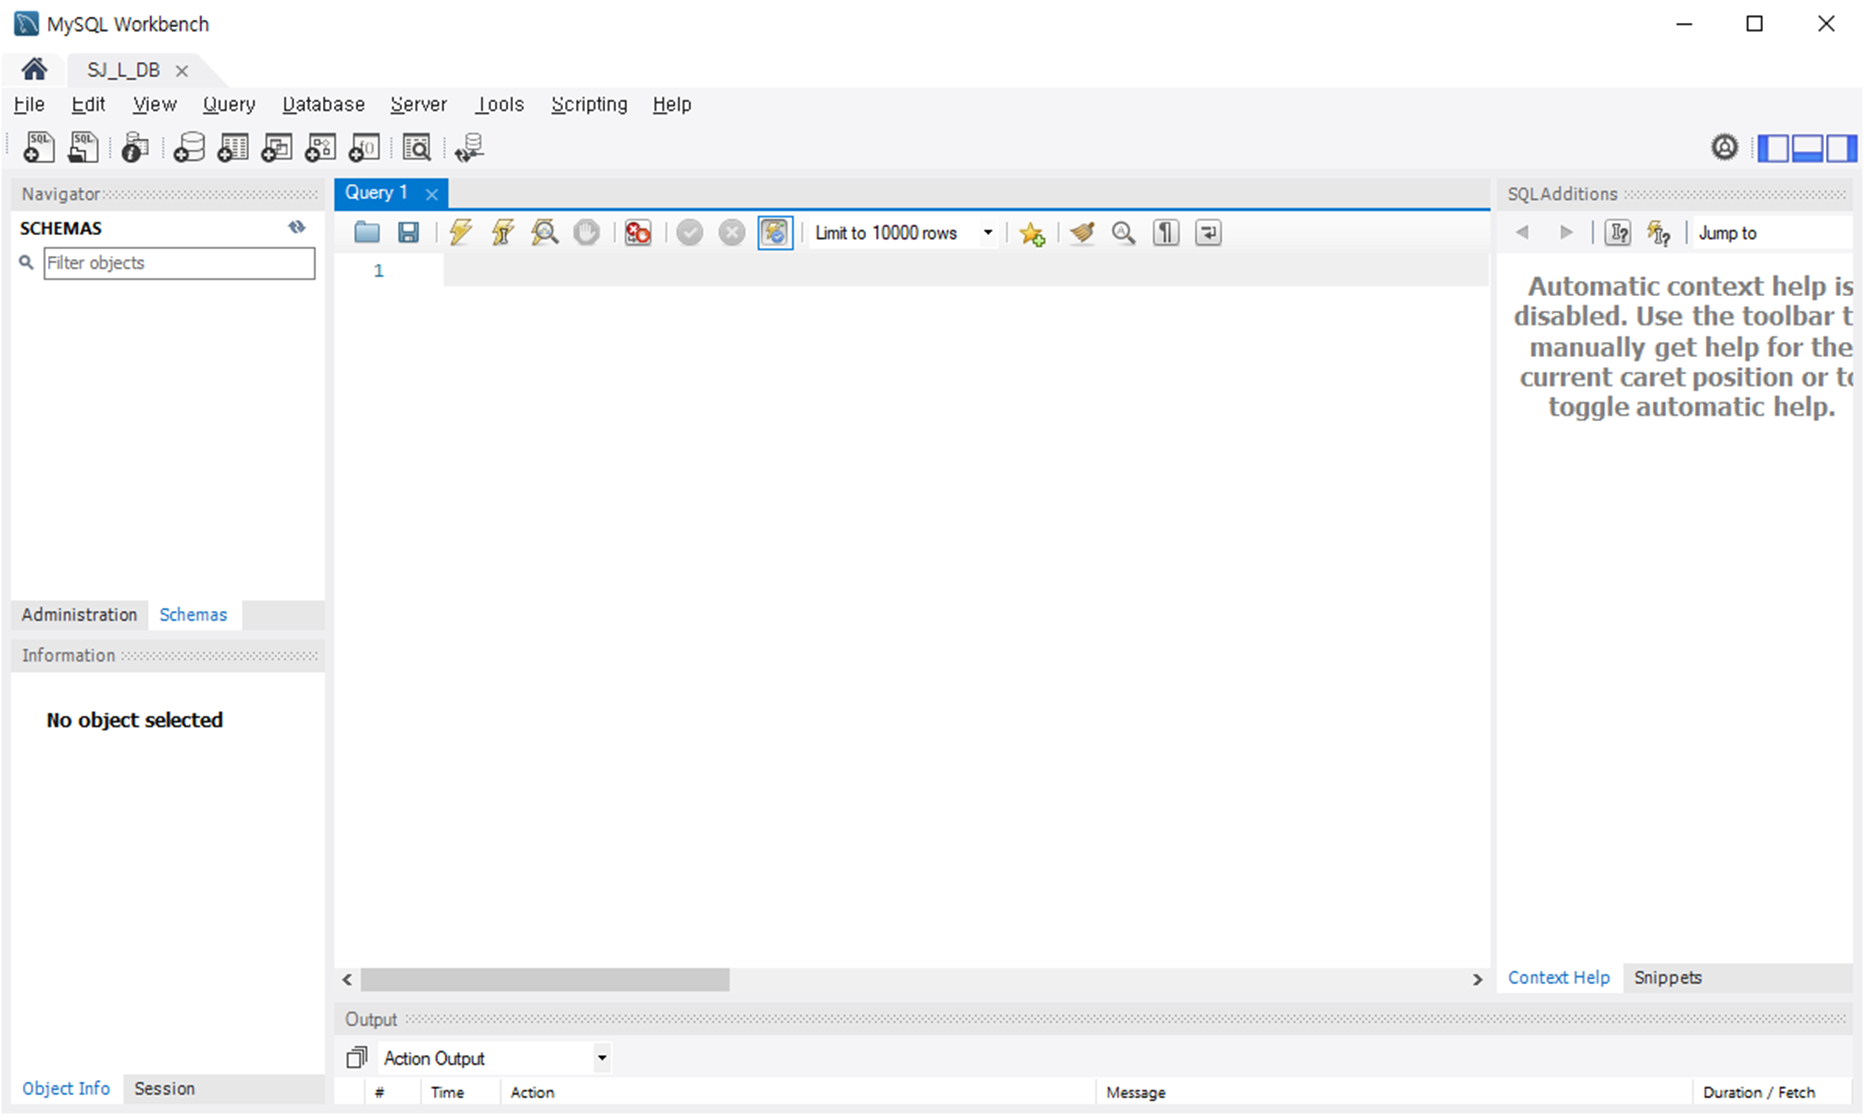
4. 접속 확인 ( [MySQL Workbench] https://sangjunui.tistory.com/31 )
'Server > 환경 구축 - Centos' 카테고리의 다른 글
| [Linux] CentOS 7 Node js 설치 (0) | 2022.04.26 |
|---|---|
| [Linux] CentOS 7 MySQL 계정 권한 설정 (0) | 2022.04.25 |
| [Linux] CentOS 7 MySQL 설치 및 설정 (0) | 2022.04.15 |
| [Linux] CentOS 7 FTP 설정 (0) | 2022.04.01 |
| [Linux] CentOS 7 SSH 설정 (0) | 2022.03.31 |